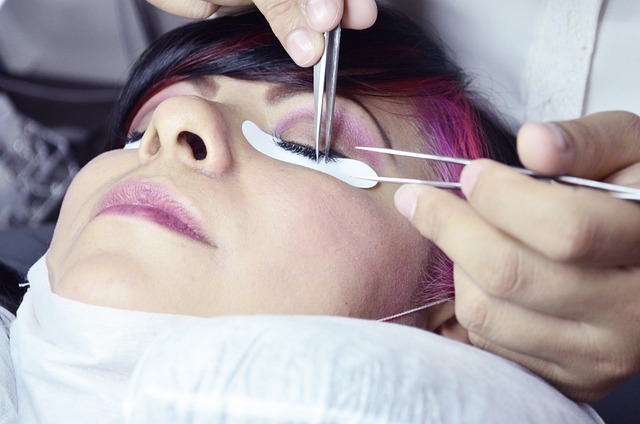
As the world of makeup constantly evolves, new techniques and trends continue to dazzle us, one of them being the cut crease eyeshadow technique. This technique emphasizes and defines the crease of the eye, creating contrast and depth that makes eyes appear larger and more dramatic. However, the cut crease technique requires meticulous precision and skill. For makeup enthusiasts looking to master this art, we have compiled a comprehensive step-by-step guide to help you perfect the cut crease.
The Importance of Primer
Before diving into the intricacies of creating the cut crease, we must emphasize the importance of a good base. The base, namely the primer, is key to achieving a long-lasting and crease-free eyeshadow look.
Have you seen this : What are the Top Sustainable British Beauty Brands for Sensitive Skin?
Start by cleansing your skin to remove any dirt or oils. Follow this up with a hydrating moisturizer. Once your skin is clean and hydrated, apply a thin layer of eye primer on your eyelid. The primer will help your eyeshadow adhere better to your skin, increase its longevity, and prevent it from creasing or smudging.
One pro-tip to remember: allow your primer to dry fully before moving on to the next step. This will ensure that your eyeshadow glides on smoothly and stays put throughout the day.
Also read : Can You Offer Insight into the Best High-Impact Sports Bras for Running in the UK?
Choosing the Right Shades and Brushes
The next step involves choosing the right shades and brushes. The cut crease technique involves creating a ‘cut’ or sharp contrast between your crease color and your lid color.
Start by selecting a transition shade that is a few shades darker than your skin tone. This color will be used to create a gradient effect on your crease. Next, select a darker shade for defining the crease and finally, a light shade for your lid to create the ‘cut’.
When it comes to brushes, you will need at least three types: a fluffy blending brush for the transition shade, a smaller precise brush for defining the crease, and a flat brush to apply the lid color.
Creating the Crease
The crease is the hollow area that separates your eyelid from your brow bone. When creating a cut crease, this area is defined with a darker shade to create depth and contrast.
Start by applying the transition shade on your crease using the fluffy blending brush. Blend the color upwards and outwards to create a diffused gradient effect.
Next, take your smaller precise brush and the darker shade to define your crease. Draw a line along your crease and then blend it upwards. This will create a sharper and more defined crease.
Cutting the Crease
Cutting the crease is probably the trickiest part of the process, but with patience and practice, you’ll get the hang of it. This step involves applying a concealer or a base on the lid to create a sharp distinction between your lid and the crease.
Take a flat brush and some concealer or eyeshadow base and apply it on your eyelid in a semi-circle shape. Start from the inner corner and go all the way to the outer corner. This will create a clean ‘cut’ between your lid and the crease.
Applying the Lid Color
The final step in creating a cut crease is to apply your lid color. This should be a light eyeshadow color that contrasts with your crease shade.
Take a flat brush and apply the eyeshadow on top of your concealer or base, careful not to go above the ‘cut’. Make sure the lid color is evenly applied and there are no patches.
Once your eyeshadow is applied, you can enhance your look with eyeliner, mascara, or lashes of your choice. And voila! You have a beautifully defined cut crease eyeshadow look!
While the cut crease technique may seem daunting at first, with this guide, we hope you will feel empowered to experiment with this makeup trend. Remember, practice makes perfect, and the more you work with this technique, the easier it will become. So, grab your brushes, choose your colors, and let’s create some cut crease magic!
Perfecting the Technique: Tips and Tricks for Hooded Eyes and More
Mastering the cut crease technique especially for those with hooded eyes can be a bit of a challenge. Hooded eyes have a more pronounced brow bone, which can make the crease less visible. But with a little know-how, you can create a beautiful cut crease look even on hooded eyes.
Firstly, remember to apply the transition and darker shades slightly above the natural crease of your eye instead of directly in it. This ensures that the color is visible when your eyes are open.
Secondly, when cutting the crease, take the concealer or base slightly higher than your natural crease. This gives the illusion of a larger eyelid space, making your eyes appear bigger and more defined.
Similarly, these tricks can be applied to other eye shapes to enhance the look. For instance, those with smaller eyes can create a wider and more pronounced crease to give the illusion of larger eyes. Those with larger eyes, on the other hand, can create a narrower and softer crease to balance the overall look.
Lastly, don’t forget to blend! A makeup artist’s secret weapon for a perfect cut crease is a well-blended eyeshadow. Use your eyeshadow brush to blend the transition and darker eyeshadow shades well, so there aren’t any harsh lines.
Making the Most of Your Eyeshadow Palette
A versatile eyeshadow palette is an essential tool when creating a cut crease look. Apart from your base, transition, crease, and lid colors, consider adding a shimmery shade to highlight certain areas.
Apply a shimmery shade on the brow bone and the inner corner of your eyes to add brightness and make your eye makeup pop. This step can make a world of difference in your final look.
Remember to clean your eyeshadow brush between shades to prevent color mixing. You can simply swipe the brush on a clean towel until no more color comes off.
Conclusion: Practice Makes Perfect
Congratulations! You are now well on your way to mastering the cut crease eyeshadow technique. Remember, becoming adept at this technique, like any other makeup skill, involves practice. Don’t be discouraged if your first few attempts don’t turn out as expected. Keep working at it, and you’ll eventually create the perfect cut crease look.
Seek inspiration from different sources, and don’t be afraid to experiment with various shades from your eyeshadow palette. Above all, have fun during the process. After all, makeup is an art that allows you to express yourself. So, grab your eyeshadow primer, brushes, and palette, and let your creativity shine through your cut crease eyeshadow look!
Please remember to review our privacy policy for any updates or changes. We value your trust and aim to ensure your utmost satisfaction. Enjoy your journey in the world of cut crease eyeshadow artistry!


